總結

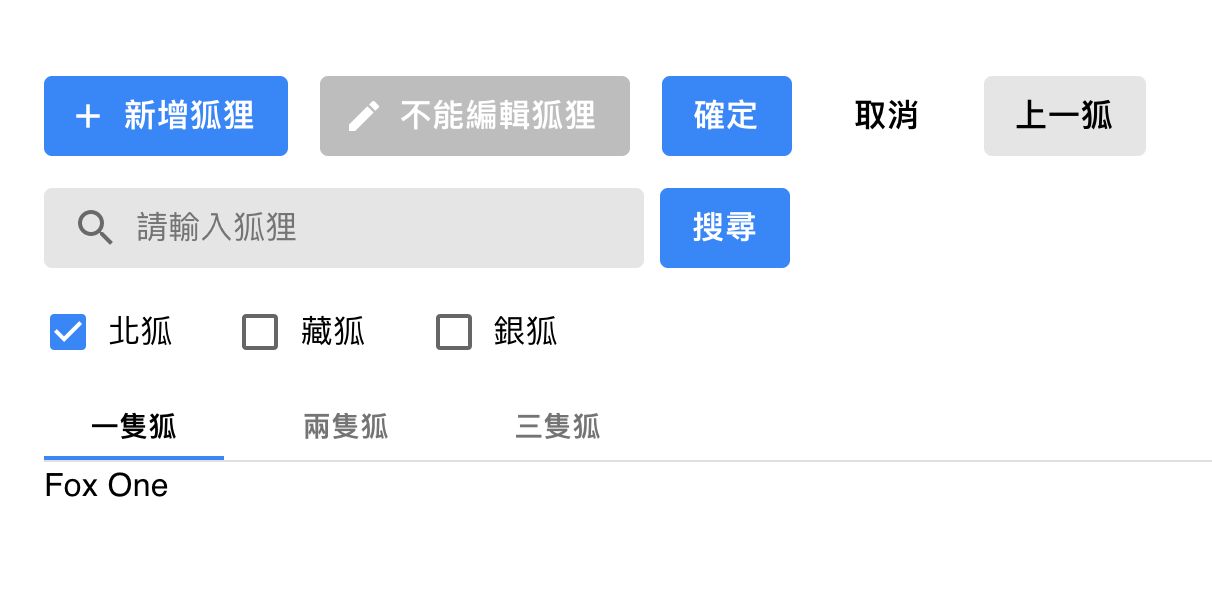
這禮拜多半在處理 MUI 元件的客製化外觀,索性直接建立一個實驗用的 react app 來當測試盒
筆記
自訂元件外觀
- 大部分可以透過
styleOverrides解決 - 以
MuiButton為例,直接設定 Button 系的尺寸、按鈕字體樣式,以及在:disabled狀態下的外觀後(src.themes.Button.index.ts),在src.themes.index.ts與其他的 mui 自訂外觀設定一起import,並透過createTheme建立 theme object,最後在src.index.tsx作為props傳入ThemeProvider
專案色票設定
- 與自訂元件外觀的作法類似,將設計師提供的色票更新至
src.themes.Palette.index.ts後匯入src.themes.index.ts - 將專案色票定義完畢後,基本上就不需要手動修改太多 mui 元件的樣式;在專案配色單純的情況下,大部分元件直接使用
primary.main與primary.dark的顏色即可
專案部署至 gh-pages 流程
- package.json 追加
"homepage": "https://<github-account>.github.io/<repo-name>" npm i gh-pages- package.json 的 scripts 部分追加
"predeploy": "npm run build"與"deploy": "gh-pages -d build" npm run deploy後,至 GitHub repo 確認 pages 有指向 branchgh-pages即可